springboot自动装配原理探究
结论:
- SpringBoot启动会加载大量的自动配置类
- 我们看我们需要的功能有没有在SpringBoot默认写好的自动配置类当中;
- 我们再来看这个自动配置类中到底配置了哪些组件;(只要我们要用的组件存在在其中,我们就不需要再手动配置了)
- 给容器中自动配置类添加组件的时候,会从properties类中获取某些属性。我们只需要在配置文件中指定这些属性的值即可;
对于配置类的读取:
- 根据当前不同的条件判断,决定这个配置类是否生效!
- 一但这个配置类生效;这个配置类就会给容器中添加各种组件;
- 这些组件的属性是从对应的properties类中获取的,这些类里面的每一个属性又是和配置文件绑定的;
- 所有在配置文件中能配置的属性都是在xxxxProperties类中封装着;
- 配置文件能配置什么就可以参照某个功能对应的这个属性类
- 首先创建一个springboot项目,打开主启动类

存在如下注解:
-
@SpringBootApplication放在项目的一个启动类上,用来把启动类注入到容器中,用来定义容器扫描的范围,用来加载classpath环境中一些bean。
- 点进
@SpringBootApplication
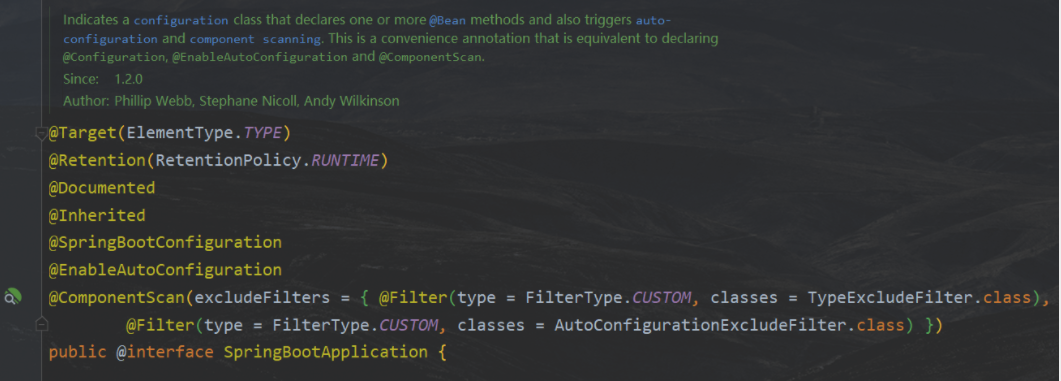
可以看到包含如下注解:
-
@Target(ElementType.TYPE)
@Retention(RetentionPolicy.RUNTIME)
@Documented
@Inherited
四大元注解。
-
@SpringBootConfiguration标识一个springboot配置类
-
@EnableAutoConfiguration启动自动装配
-
@ComponentScan(excludeFilters = { @Filter(type = FilterType.CUSTOM, classes = TypeExcludeFilter.class), @Filter(type = FilterType.CUSTOM, classes = AutoConfigurationExcludeFilter.class) })开启组件扫描
- 先点进
@ComponentScan中看看扫描了什么组件
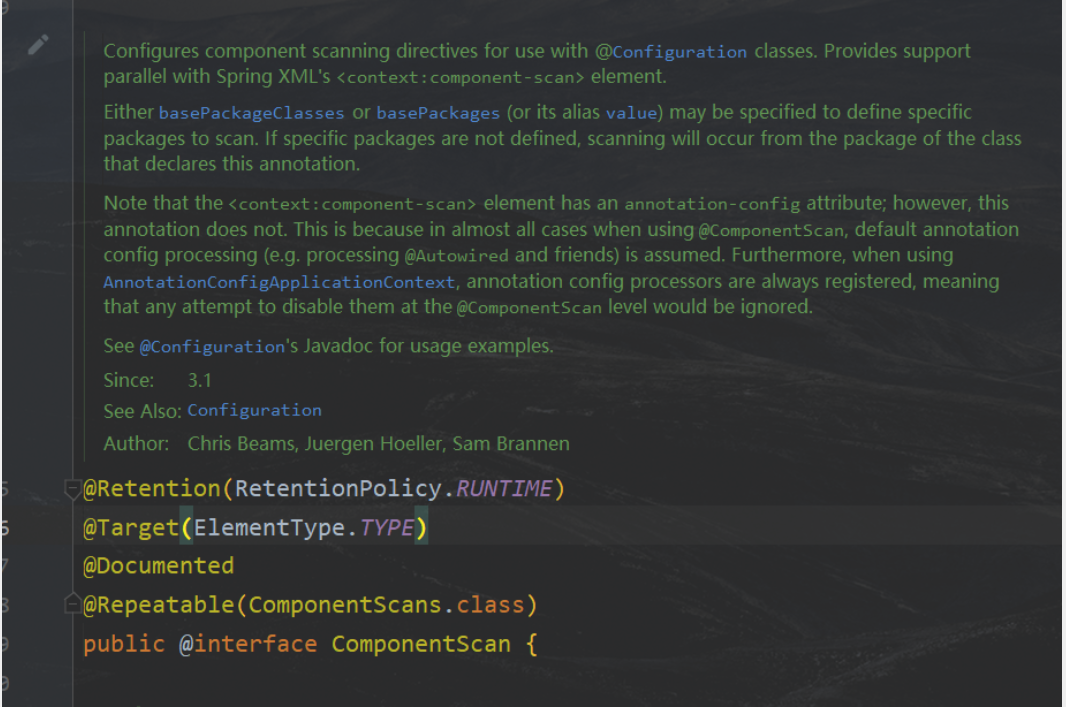
在这个注解下我们找到了这样一个属性:
/**
 * Controls the class files eligible for component detection.
 * <p>Consider use of {@link #includeFilters} and {@link #excludeFilters}
 * for a more flexible approach.
 */
String resourcePattern() default ClassPathScanningCandidateComponentProvider.DEFAULT_RESOURCE_PATTERN;
找到这个属性值:
public class ClassPathScanningCandidateComponentProvider implements EnvironmentCapable, ResourceLoaderAware {

	static final String DEFAULT_RESOURCE_PATTERN = \"**/*.class\";

}
可以看到帮我们导入了所有当前启动类所在路径下的任意类文件
- 接着点击
@EnableAutoConfiguration,让我们去看看自动装配都做了什么
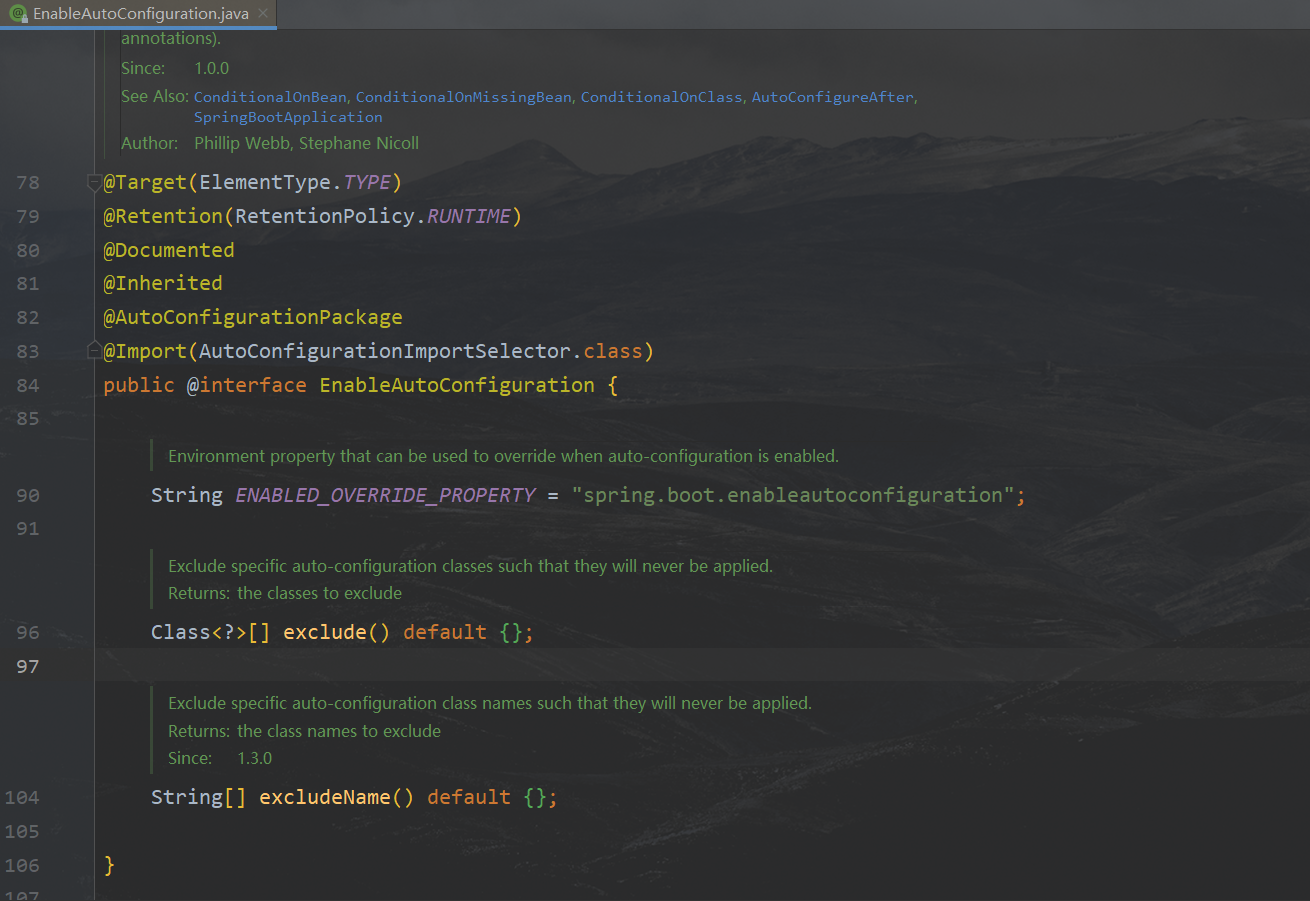
可以看到存在如下注解:
-
@AutoConfigurationPackage自动配置包
-
@Import(AutoConfigurationImportSelector.class)spring的底层注解,引入一个资源
- 点击
@AutoConfigurationPackage
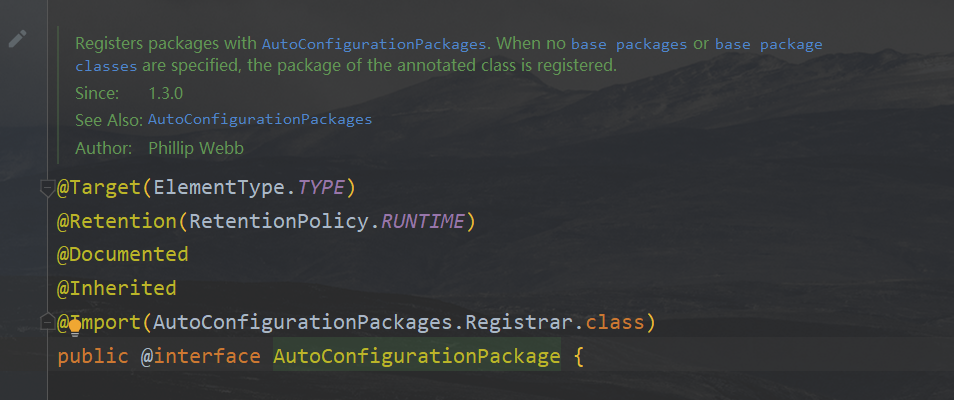
我们看到自动配置包引入了一个类资源,点进去看看

该类存储来自导入配置的包
- 点击
@Import(AutoConfigurationImportSelector.class),我们去看看这个注解引入的资源内容
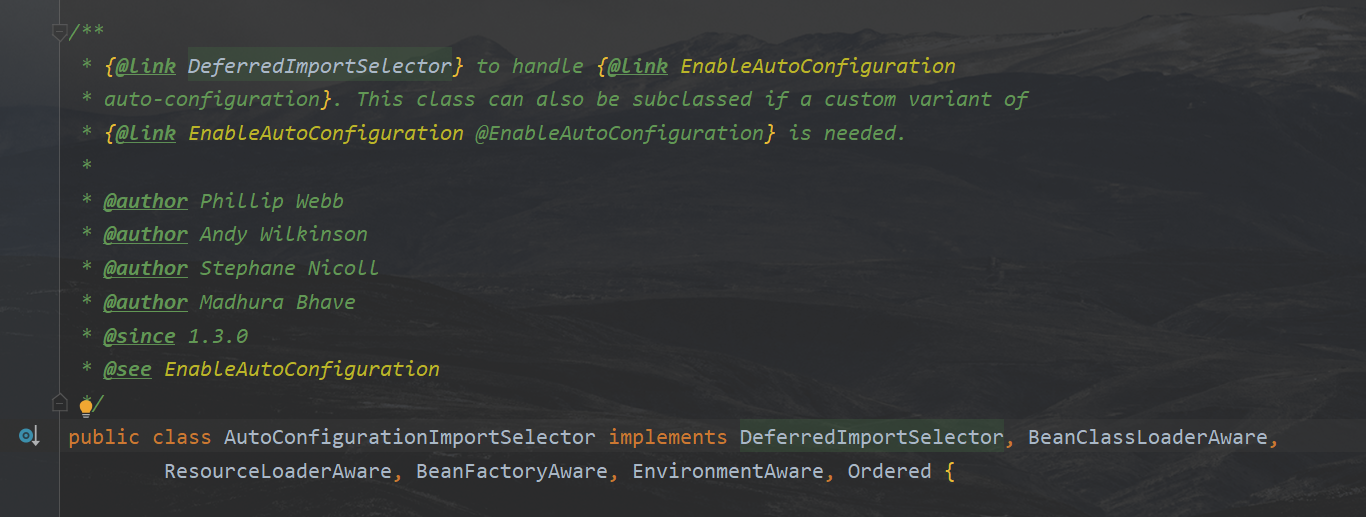
这是一个自动配置导入选择器
我们找到其中的个别方法
- 获取自动配置实体

- 获得候选配置
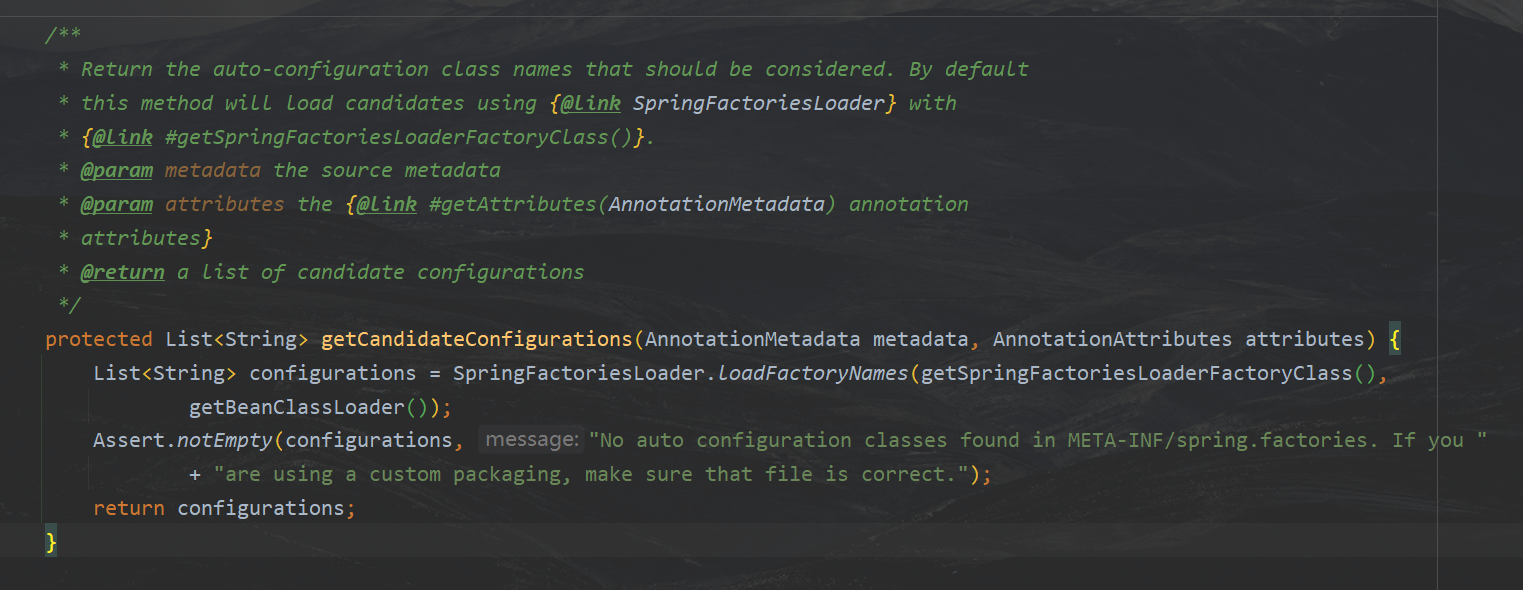
在候选配置中,我们注意到它调用了一个SpringFactoriesLoader.loadFactoryNames()方法:
List<String> configurations = SpringFactoriesLoader.loadFactoryNames(getSpringFactoriesLoaderFactoryClass(),
				getBeanClassLoader());
- 让我们去看看
SpringFactoriesLoader这个类

这是一个用于框架内部使用的通用工厂加载机制。
这是刚刚看到的loadFactoryNames()方法:
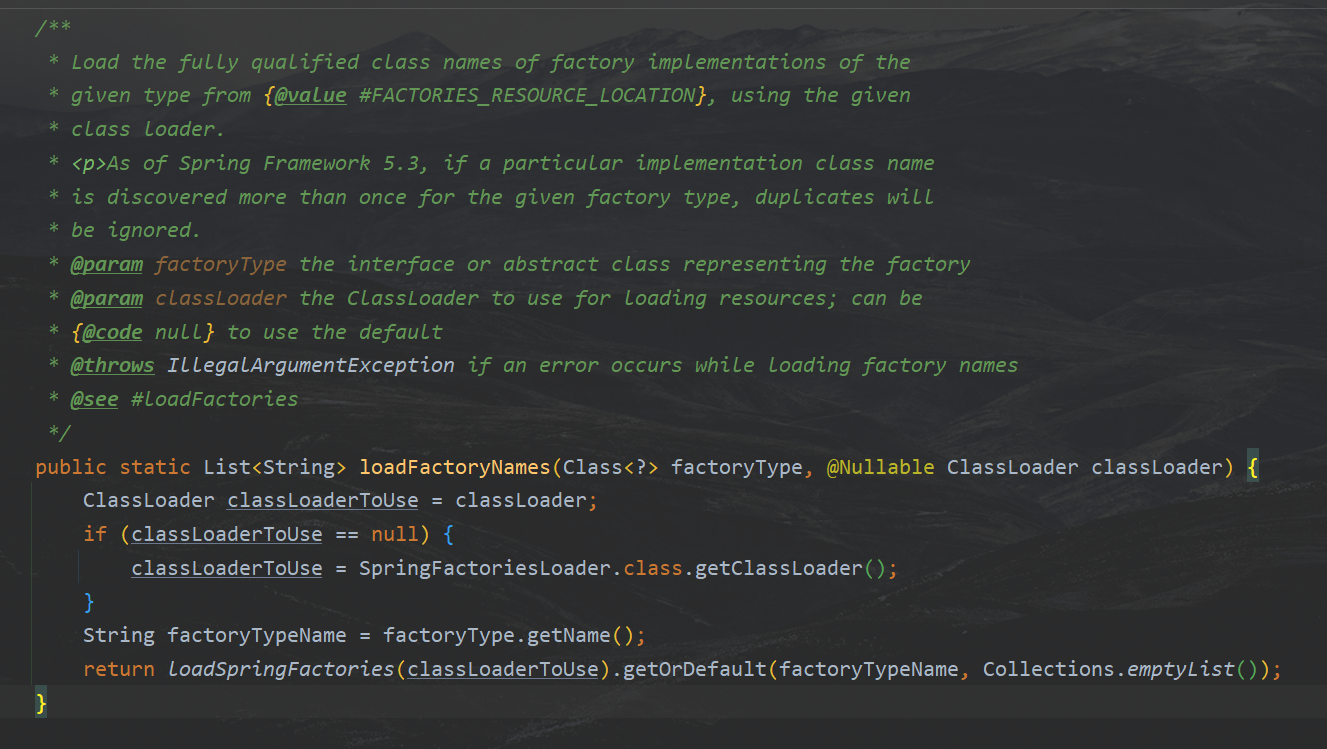
这个类中还存在这样一个方法:
private static Map<String, List<String>> loadSpringFactories(ClassLoader classLoader) {
   Map<String, List<String>> result = cache.get(classLoader);
   if (result != null) {
      return result;
   }

   result = new HashMap<>();
   try {
      Enumeration<URL> urls = classLoader.getResources(FACTORIES_RESOURCE_LOCATION);
      while (urls.hasMoreElements()) {
         URL url = urls.nextElement();
         UrlResource resource = new UrlResource(url);
         Properties properties = PropertiesLoaderUtils.loadProperties(resource);
         for (Map.Entry<?, ?> entry : properties.entrySet()) {
            String factoryTypeName = ((String) entry.getKey()).trim();
            String[] factoryImplementationNames =
                  StringUtils.commaDelimitedListToStringArray((String) entry.getValue());
            for (String factoryImplementationName : factoryImplementationNames) {
               result.computeIfAbsent(factoryTypeName, key -> new ArrayList<>())
                     .add(factoryImplementationName.trim());
            }
         }
      }

      // Replace all lists with unmodifiable lists containing unique elements
      result.replaceAll((factoryType, implementations) -> implementations.stream().distinct()
            .collect(Collectors.collectingAndThen(Collectors.toList(), Collections::unmodifiableList)));
      cache.put(classLoader, result);
   }
   catch (IOException ex) {
      throw new IllegalArgumentException(\"Unable to load factories from location [\" +
            FACTORIES_RESOURCE_LOCATION + \"]\", ex);
   }
   return result;
}
在这个方法中我们可以看到,它加载了一个FACTORIES_RESOURCE_LOCATION资源,并将从资源中拿到的东西封装成一个个的Properties供接下来使用
/**
 * The location to look for factories.
 * <p>Can be present in multiple JAR files.
 */
public static final String FACTORIES_RESOURCE_LOCATION = \"META-INF/spring.factories\";
- 找到这个资源
META-INF/spring.factories
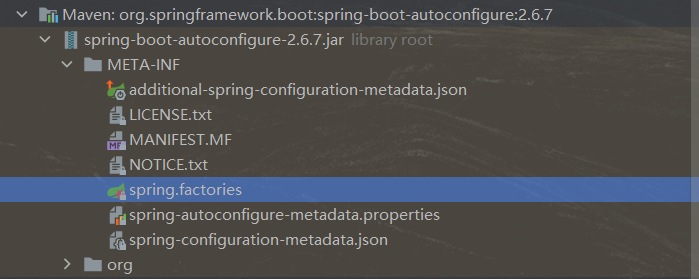
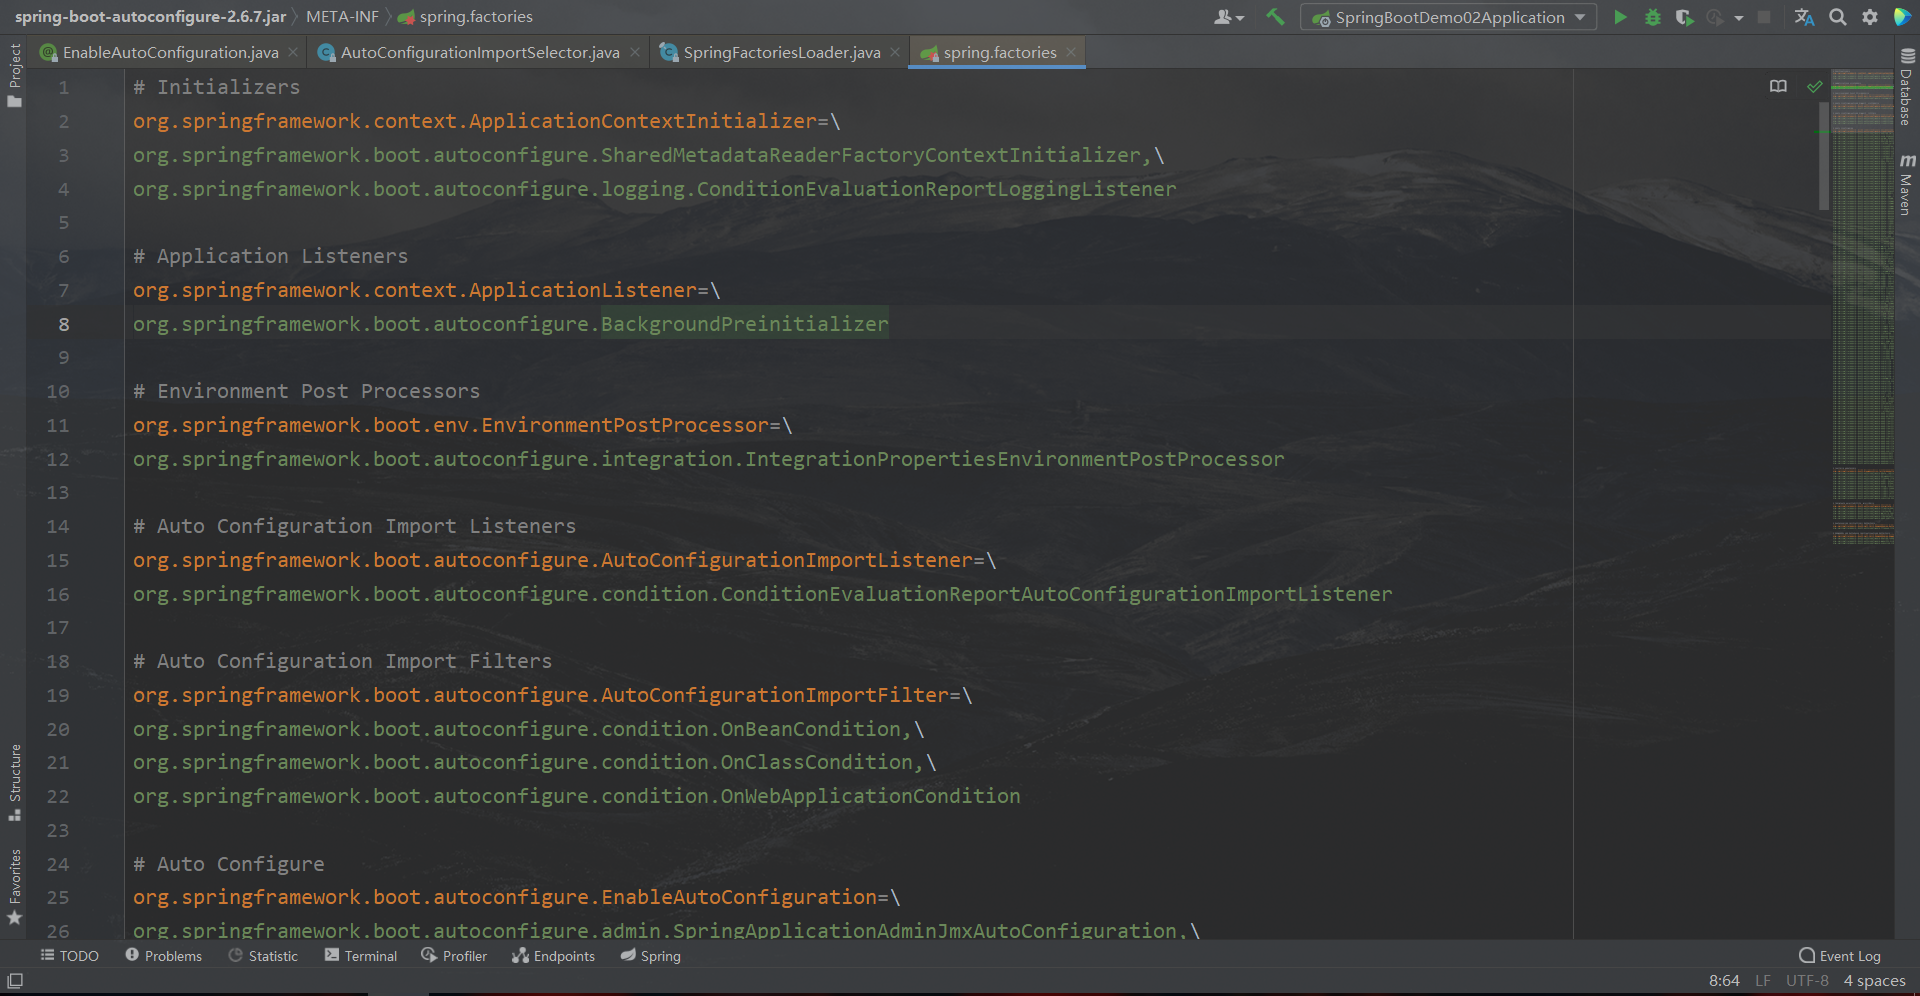
可以看到这个文件的内容就是我们用的一个又一个的配置

- 找个我们熟悉的,例如
HttpEncodingAutoConfiguration点进去看看
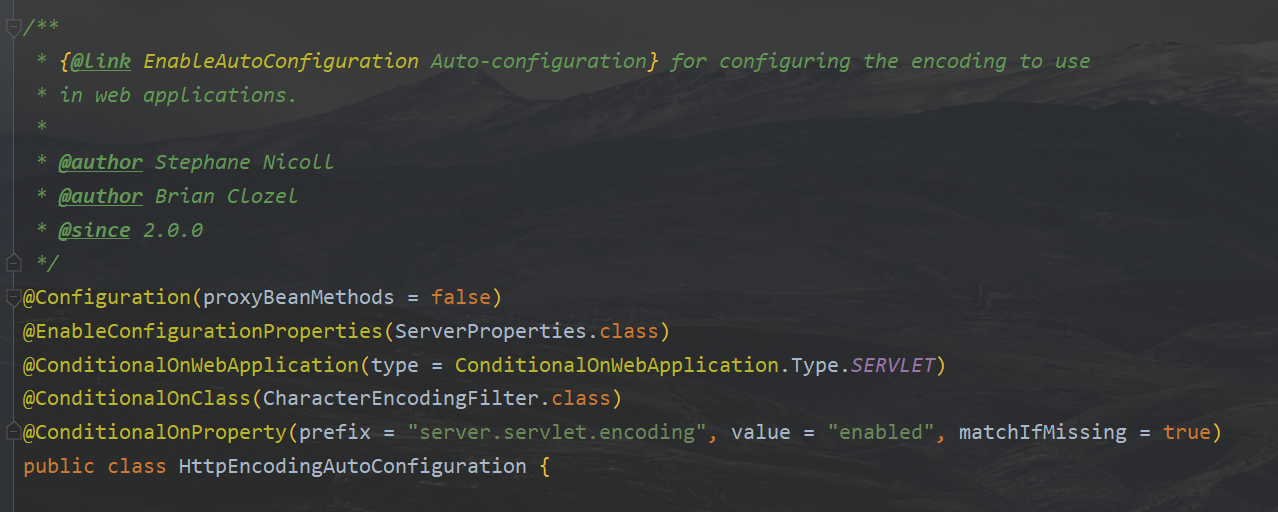
看到了如下的注解:
@Configuration(proxyBeanMethods = false)
配置类标识
@EnableConfigurationProperties(ServerProperties.class)
启用配置属性
@ConditionalOnWebApplication(type = ConditionalOnWebApplication.Type.SERVLET)
Spring底层@Conditional注解
根据不同的条件判断,如果满足指定的条件,整个配置类里面的配置就会生效;
这里的意思就是判断当前应用是否是web应用,如果是,当前配置类生效@ConditionalOnClass(CharacterEncodingFilter.class)
判断当前项目有没有这个类CharacterEncodingFilter;SpringMVC中进行乱码解决的过滤器;
@ConditionalOnProperty(prefix = \"server.servlet.encoding\", value = \"enabled\", matchIfMissing = true)
判断配置文件中是否存在某个配置:server.servlet.encoding.enabled;
如果不存在,判断也是成立的
即使我们配置文件中不配置server.servlet.encoding.enabled=true,也是默认生效的;
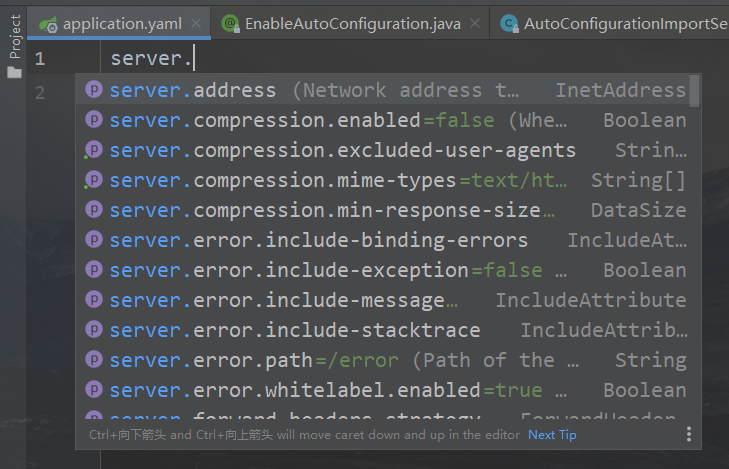
可以看到它已经绑定了一个配置文件
@ConfigurationProperties(prefix = \"server\", ignoreUnknownFields = true)
public class ServerProperties {
  //...
}
从此可以看到配置文件里写的东西都在这个属性类中封装着,也就是说这个类里有的我们都可以在配置文件中配置
总结 :
-
根据当前不同的条件判断,决定这个配置类是否生效!
-
一但这个配置类生效;这个配置类就会给容器中添加各种组件;
-
这些组件的属性是从对应的properties类中获取的,这些类里面的每一个属性又是和配置文件绑定的;
-
所有在配置文件中能配置的属性都是在xxxxProperties类中封装着;
-
配置文件能配置什么就可以参照某个功能对应的这个属性类
这就是自动装配的原理!
xxxxAutoConfigurartion:自动配置类;给容器中添加组件
xxxxProperties:封装配置文件中相关属性;
来源:https://www.cnblogs.com/radish40/p/16342809.html
本站部分图文来源于网络,如有侵权请联系删除。
 百木园
百木园