前言
通过Electron技术 + python 构建桌面应用实际上非常麻烦,需要使用python构成后端并打包,然后使用Vue作为前端,还要用Electron打包。
但是好处就是可以同时得到来自前端UI框架的高颜值支持以及python海量轮子的快速实现(以及较为完善的多端部署功能),项目可以快速扩展成全平台应用。
所以我在这个博客里记录了Python + Vue Electron 构建桌面应用的方法。
(其实单纯使用node.js进行开发可能会更快,毕竟不用写后端api,但是python的社区有很多超级方便的库,可以节约大量的时间,比较起来还是写api来得节省时间)
Step 1. 新建Vue项目
vue create vue-electron-app
Step 2. 选择一个UI框架
Naive UI
npm i -D naive-ui
npm i -D vfonts
为了方便,全局引入UI组件,在main.js 中添加
import naive from \'naive-ui\'
createApp(App).use(naive).use(store).use(router).mount(\'#app\')
Step 3. 安装 electron-builder
vue add electron-builder
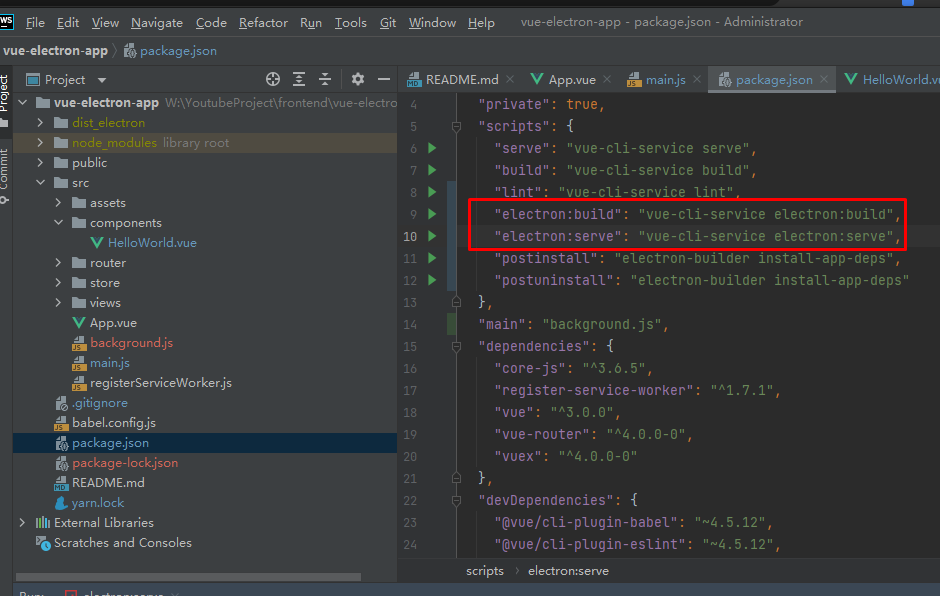
安装成功后package.json中多了几个命令

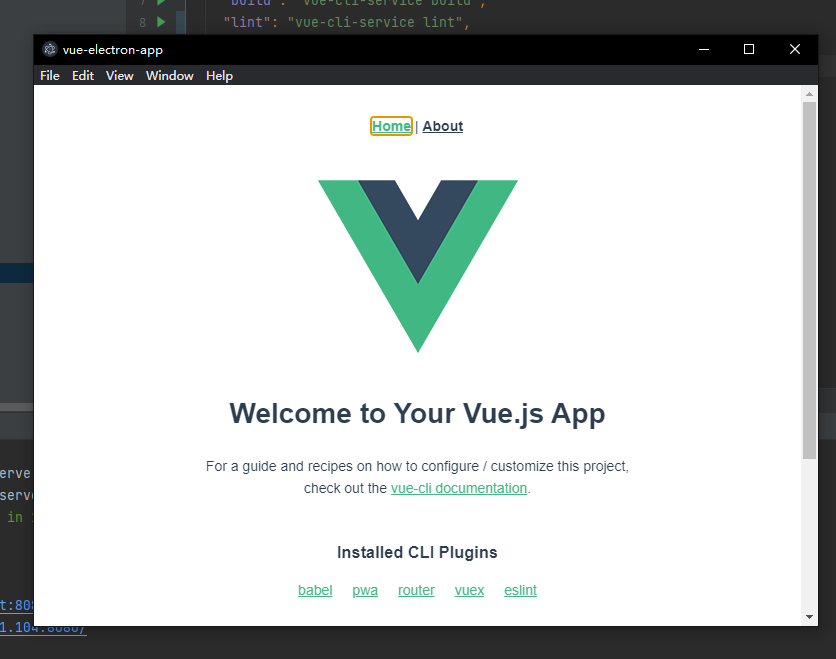
运行npm run electron:serve

到这里就基本完成前端部分的环境设置,后续只需要像开发web应用一样写api就行了
Step 4. 创建后端项目,作者使用FastAPI作为Python后端框架
安装fastapi及其依赖项
pip install fastapi[all] pyinstaller
一部分Python代码,用于测试
from fastapi import FastAPI
import uvicorn
# 配置文件
from config import This_config
import logging


app = FastAPI()


@app.get(\"/\")
async def root():
    return {\"message\": \"Hello World\"}


if __name__ == \'__main__\':
    logging.basicConfig(filename=\'log.log\', encoding=\'utf-8\', level=logging.INFO, format=\'%(asctime)s %(message)s\')

    logging.info(\"Now start service\")

    try:
        uvicorn.run(\"main:app\", host=\"localhost\", port=This_config[\'port\'], log_level=\"info\")
    except Exception as e:
        logging.error(e)
下面的命令用于pyinstaller打包
pyinstaller --uac-admin -w main.py --distpath W:\\YoutubeProject\\frontend\\vue-electron-app\\dist_electron\\win-unpacked\\backend_dist --hidden-import=main
需要注意的是,--hidden-import=main 不能省略,否则服务器无法启动。
Step 5. 配置前后端联合启动
因为是桌面端软件,在前端Electron打包,后端pyinstaller打包之后,需要在启动前端的Electron .exe文件时,也同时启动pyinstaller打包的后端exe文件,这就需要在前端代码中写入命令行以唤起后端的exe,并在退出时关闭后端exe。
首先安装node-cmd,yarn add node-cmd
然后在管理electron生命周期的项目名.js 文件中,完成以下代码以唤起和关闭后端exe
点击查看代码
\'use strict\'

import { app, protocol, BrowserWindow } from \'electron\'
import { createProtocol } from \'vue-cli-plugin-electron-builder/lib\'
import installExtension, { VUEJS3_DEVTOOLS } from \'electron-devtools-installer\'


var cmd=require(\'node-cmd\');

// 获取程序的根目录地址
var currentPath = require(\"path\").dirname(require(\'electron\').app.getPath(\"exe\"));

const isDevelopment = process.env.NODE_ENV !== \'production\'

// Scheme must be registered before the app is ready
protocol.registerSchemesAsPrivileged([
  { scheme: \'app\', privileges: { secure: true, standard: true } }
])

async function createWindow() {
  // Create the browser window.
  const win = new BrowserWindow({
    width: 800,
    height: 600,
    webPreferences: {

      // Use pluginOptions.nodeIntegration, leave this alone
      // See nklayman.github.io/vue-cli-plugin-electron-builder/guide/security.html#node-integration for more info
      nodeIntegration: process.env.ELECTRON_NODE_INTEGRATION,
      contextIsolation: !process.env.ELECTRON_NODE_INTEGRATION
    }
  })

  if (process.env.WEBPACK_DEV_SERVER_URL) {
    // Load the url of the dev server if in development mode
    await win.loadURL(process.env.WEBPACK_DEV_SERVER_URL)
    if (!process.env.IS_TEST) win.webContents.openDevTools()
  } else {
    createProtocol(\'app\')
    // Load the index.html when not in development
    win.loadURL(\'app://./index.html\')
  }
}

// Quit when all windows are closed.
app.on(\'window-all-closed\', () => {
  // On macOS it is common for applications and their menu bar
  // to stay active until the user quits explicitly with Cmd + Q
  if (process.platform !== \'darwin\') {
    app.quit()
    cmd.run(`taskkill /F /im main.exe`)
  }
})

app.on(\'activate\', () => {
  // On macOS it\'s common to re-create a window in the app when the
  // dock icon is clicked and there are no other windows open.
  if (BrowserWindow.getAllWindows().length === 0) createWindow()
})

// This method will be called when Electron has finished
// initialization and is ready to create browser windows.
// Some APIs can only be used after this event occurs.
app.on(\'ready\', async () => {
  if (isDevelopment && !process.env.IS_TEST) {
    // Install Vue Devtools
    try {
      await installExtension(VUEJS3_DEVTOOLS)
    } catch (e) {
      console.error(\'Vue Devtools failed to install:\', e.toString())
    }
  }
  console.log(\"now start service\")
  console.log(`${currentPath}/backend_dist/main/main.exe`)
  // 启动服务器exe
  cmd.run(`${currentPath}/backend_dist/main/main.exe`,function(err, data, stderr){
    console.log(data)
    console.log(err)
    console.log(stderr)
  });

  createWindow()
})

// Exit cleanly on request from parent process in development mode.
if (isDevelopment) {
  if (process.platform === \'win32\') {
    process.on(\'message\', (data) => {
      if (data === \'graceful-exit\') {
        app.quit()
        // 关闭服务器exe
        cmd.run(`taskkill /F /im main.exe`)
      }
    })
  } else {
    process.on(\'SIGTERM\', () => {
      app.quit()
      cmd.run(`taskkill /F /im main.exe`)

    })
  }
}
需要注意的是后端pyinstaller打包的程序需要安装到指定的目录中:${currentPath}/backend_dist/main/main.exe
这里项目中使用的后端端口是5003,但是在实际生产环境中端口有可能被占用,所以有必要在开发时将后端最终运行的端口号记录在数据库里
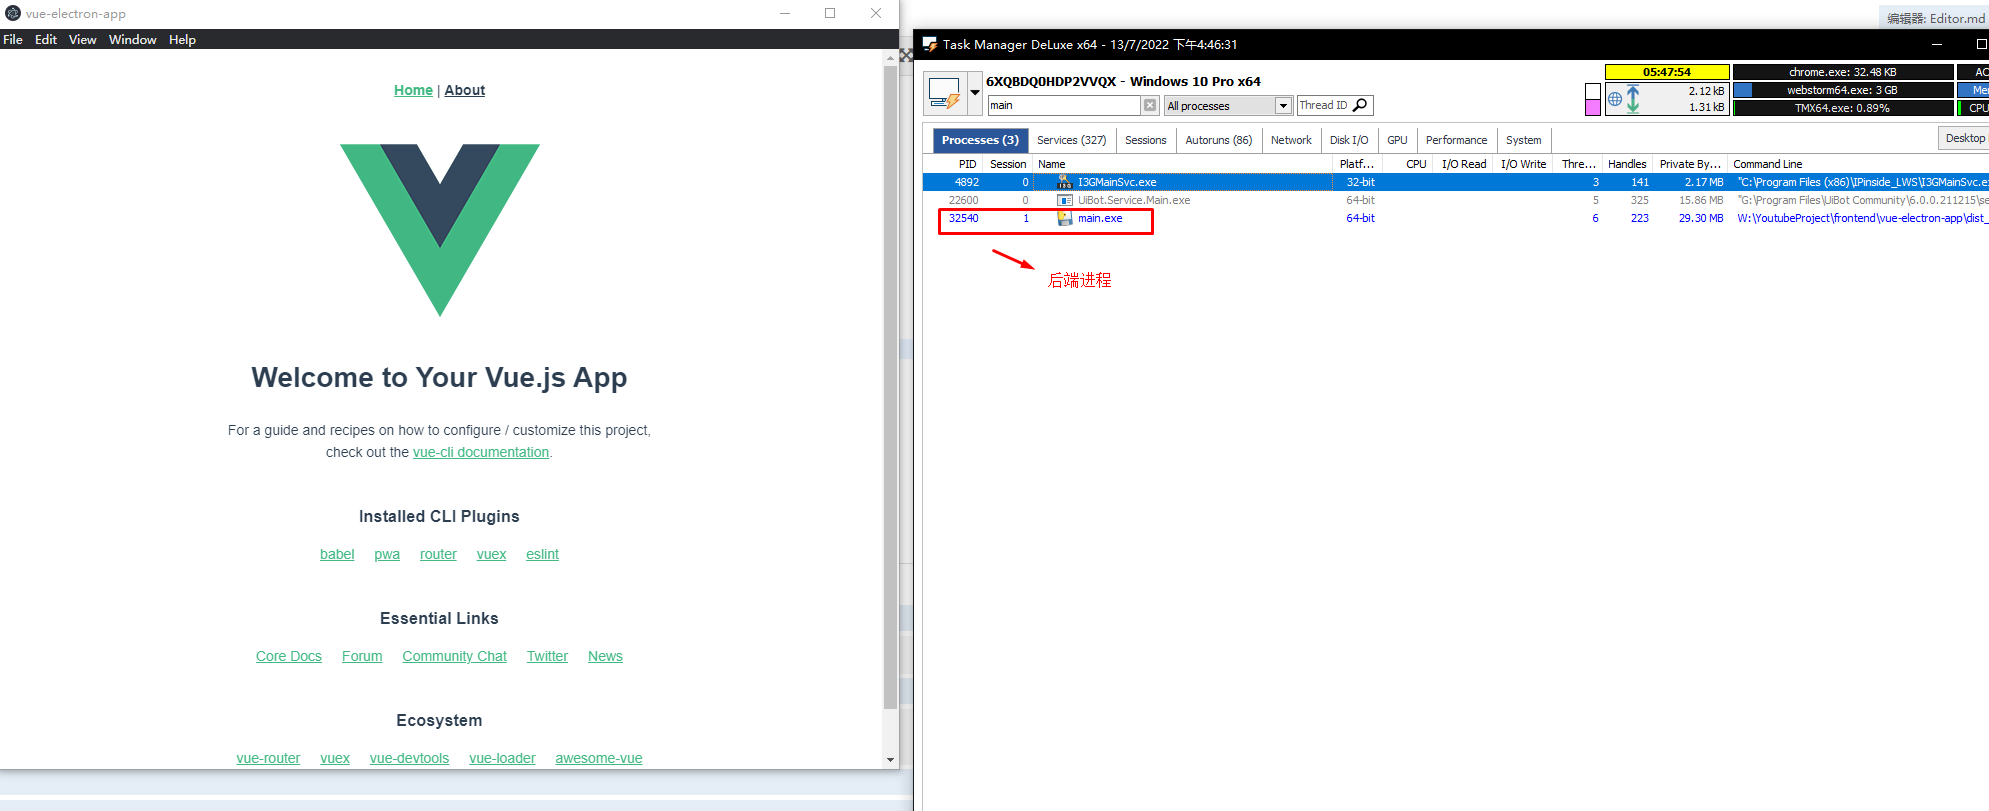
最终达到的效果就是启动前端exe时,后端进程同时打开,关闭前端exe时,后端exe也同时关闭

Step 6. 配置跨域CORS
由于浏览器默认禁止跨域通信,为了让工作在不同端口上的服务可以互相通信,需要配置CORS,在前端项目根目录上创建一个 vue.config.js
然后写入以下代码:
点击查看代码
module.exports = {
    // pabulicPath:process.env.NODE_ENV === \'production\' ? \'\' : \'\',
    devServer:{
        host:\'localhost\',
        port:\'9520\',
        // https:false,
        open:true,
        //以上的ip和端口是我们本机的;下面为需要跨域的
        proxy:{ //配置跨域
            \'/\':{
                target:\'http://localhost:5003/\',
                ws:true,
                changeOrigin:true,//允许跨域
                // pathRewrite:{
                //     \'^/api\':\'\'   //请求的时候使用这个api就可以
                // }
            }
        }
    }
}
现在就可以通过api通信让前端js调用后端的python api了。
到目前为止,一个前后端全栈的Electron桌面应用的功能就已经基本实现了。
来源:https://www.cnblogs.com/SongLink/p/16472239.html
本站部分图文来源于网络,如有侵权请联系删除。
 百木园
百木园